Design Reveal : Studio N.Y. Loft
Hello readers! I'm excited to share this project with you, because it was my final project for my first studio class. If you don't know what a studio class is, it's a course that is designated towards projects, hands-on work, and long class sessions. They allow you to work on the majority of your project while gaining valuable time with your professor. In interior design majors, studio classes are essential to becoming a designer. Professors present you with assignments modeled after real life projects and real deliverables. I will take a total of four studio classes in my college career.
In this post, I've included the entire design process, which includes: the client, project, concept, design, and where to shop the design. I will explain the project in detail and how I came up with the design. I hope you enjoy!
N.Y. Loft
Project Description:
A husband (published poet/practicing psychologist) and wife (graphic designer/active environmentalist) have recently leased a 1,300 s.f. loft in N.Y. He works at home and she has a full time position with a firm, but occasionally works at home. The design of the loft must relate to the N.Y. context. The ceiling height is 20’a.f.f., maximize the space by adding a 2nd floor for a portion of the space needed.
Program Requirements:
Entry Area
Powder Room
Living Room
Dining Room
Kitchen
Laundry Room
Master Bed / Bath
His Office
Guest Bedroom
Guest Bathroom
50 s.f.
50 s.f.
300 s.f.
150 s.f.
200 s.f.
40 s.f.
250 s.f.
150 s.f.
150 s.f.
50 s.f.
Must have coat closet
Adjacent to entry
Adjacent to entry & dining
Adjacent to kitchen
Adjacent to laundry
Adjacent to kitchen
Walk-in closet / dressing area
Adjacent to entry
Should be on 2nd Floor
Presentation Requirements:
(3) concept diagrams (these must be implemented into final presentation)
1/4" = 1'-0" study model
1/4" = 1'-0" rendered floor plans
1/4" = 1'-0" rendered reflected ceiling plans
(2) 1/2" = 1'-0" elevations
(2) rendered perspectives
Presentation Boards:
(3-4) 20" x 30" presentation boards with graphics, include concept statement and concept diagrams
Make colored copies of all final drawings in true scale
Include images of furniture, materials, and lighting
Study model

Concept Statement:
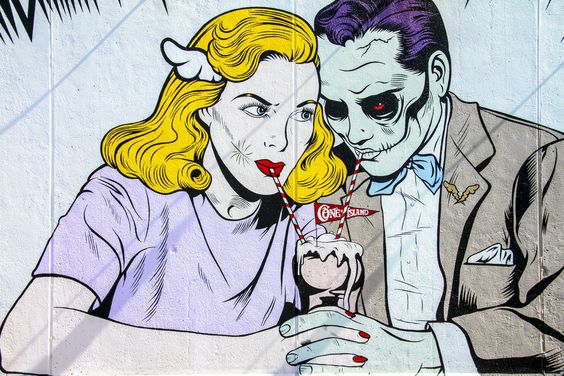
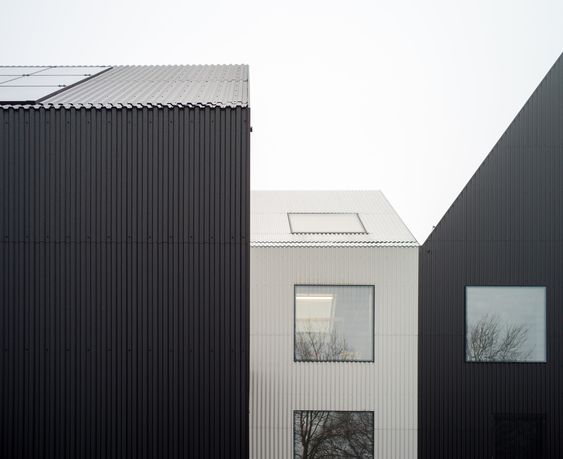
Through the use of bold colors & statement pieces, the essence of Pop Art & graphic design can be seen. Elements of New York City are present in the exposed brick & metal stairs. The bright & colorful accents create a positive and uplifting environment for the psychologist's clients, as the space serves as a home, as well as an office.
Below are concept diagrams that are made of elements & principles of design. These diagrams are orchestrated into the design, see if you can find them ;)

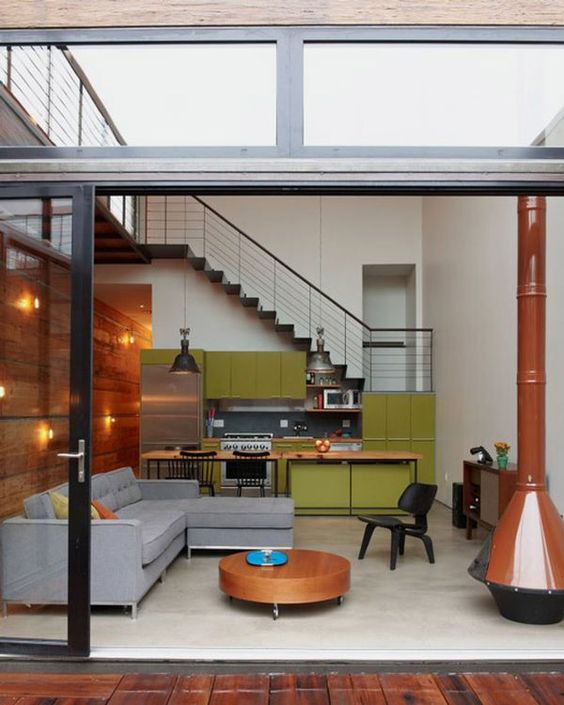
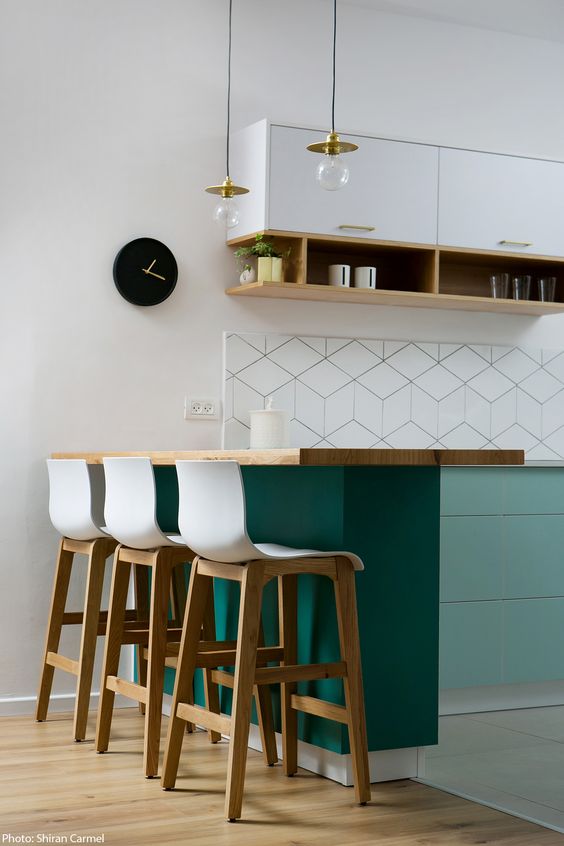
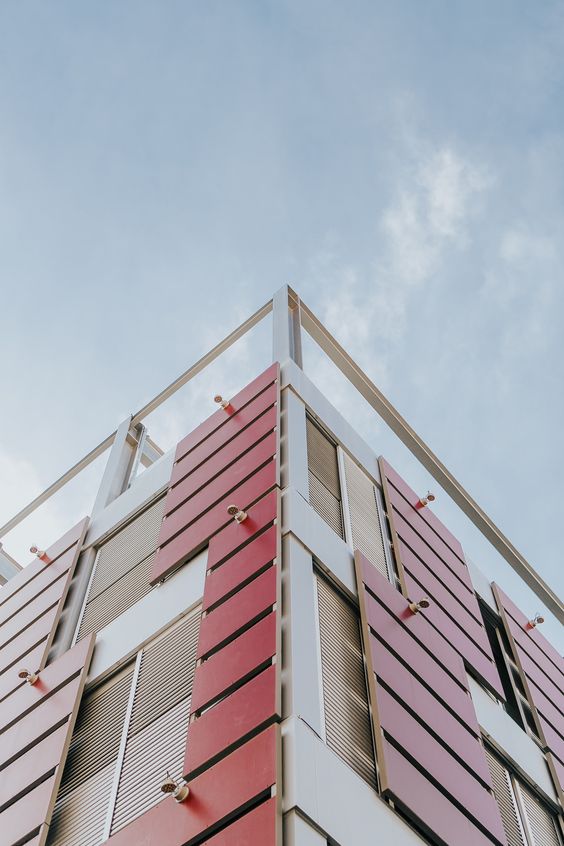
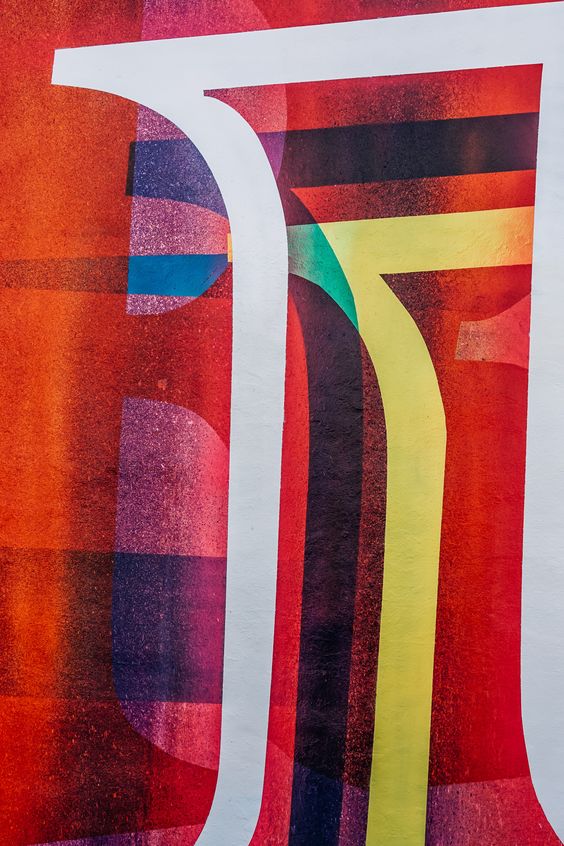
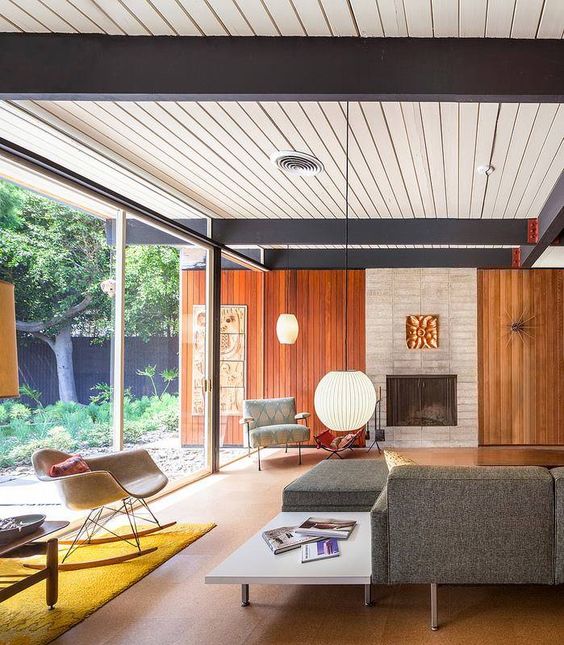
These are inspirational and mood images:

Below is the first floor of the loft. Here you can see the layout of the apartment and how I solved all of the adjacencies. For flooring, I used a mixture of tile, concrete, and wood floors. The wood flooring is in the office and mater bedroom to elevate those spaces. The psychologist will have clients walking in and out of his office, so creating a space that is nice and comfortable is important. The master bedroom is small in square footage, so to elevate the space and add value, hard wood floors are a nice addition. Also, wooden floors are a nice break on the feet from walking on concrete and tile all day and are a comfortable surface to wake up on.

First Floor
The second floor is the loft and has the guest bedroom, bathroom, and a little office/reading area that overlooks the first floor.

Second Floor
This is the reflected ceiling plan of the first floor. This is the lighting design for the office and master bedroom and includes the pendant lights in the kitchen and powder room.

First Floor
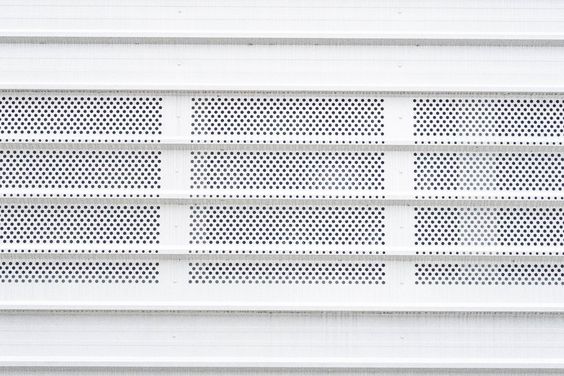
The second floor reflected ceiling plan shows the lighting that is 15 ft and up. In this reflected ceiling plan, you can see the four large panels that serve as one of the largest architectural pieces. They are suspended panels that are made of plastic and hold recessed cans. These panels are seen in Elevation 01 and Perspective 01. This ceiling treatment serves as a reference to Pop Art, having four blocks of different bright colors.

Second Floor
In the elevation below, you can see the suspended ceiling panels from RCP 2. The sides of the panels have 4' 6" plastic mesh faces with asymmetric shapes. This design is aesthetic, but also functional. The mesh faces help prevent dust from being seen on the second floor. Without the side faces, guests would be able to see the dust settle on top of the ceiling panels and they'd see the electric cords suspending from the panels. In this elevation, you can also see the mid-century modern furniture that is from the Pop Art time period.

Elevation 1
This elevation showcases the second largest architectural feature and that is the red metal staircase. This design choice behind red metal stairs was derived from the New York concept. You can also see the exposed white brick.

Elevation 2
The purpose of this perspective is to showcase the ceiling feature and how it interacts with the rest of the space beneath it. You can really see how this space functions as a home.

Perspective 1
1. Joy Bird - Roddy Sofa
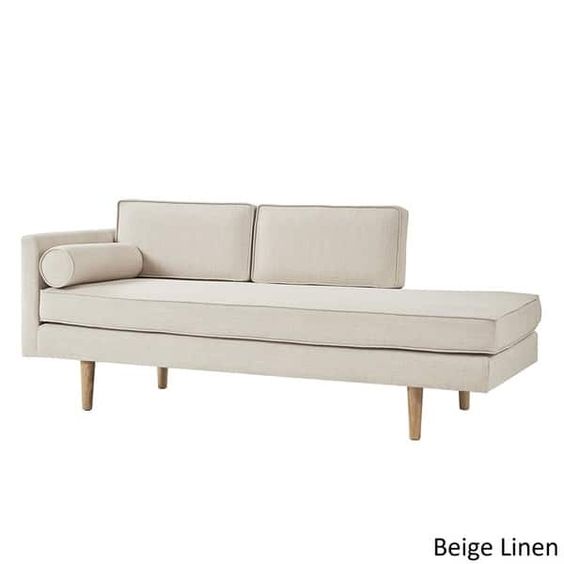
2. Overstock - Caela Mid-Century Chaise Lounge
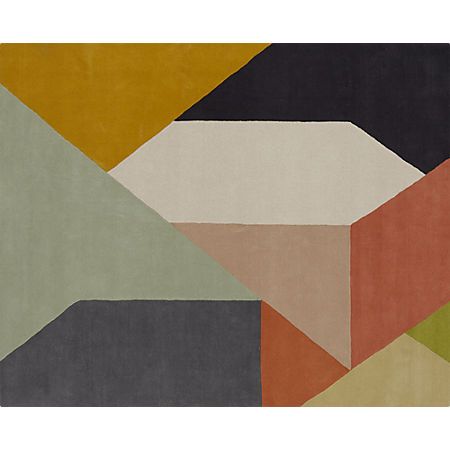
3. CB2 - Division Rug
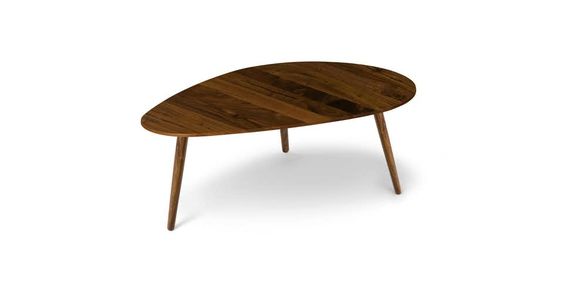
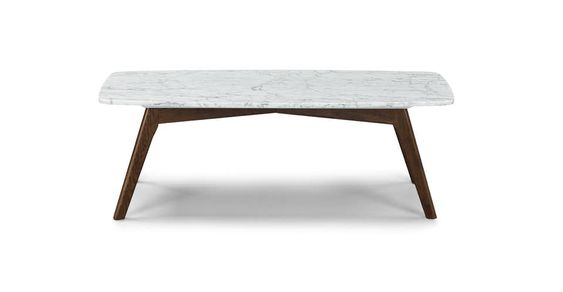
4. Article - Amoeba Wild Walnut Coffee Table
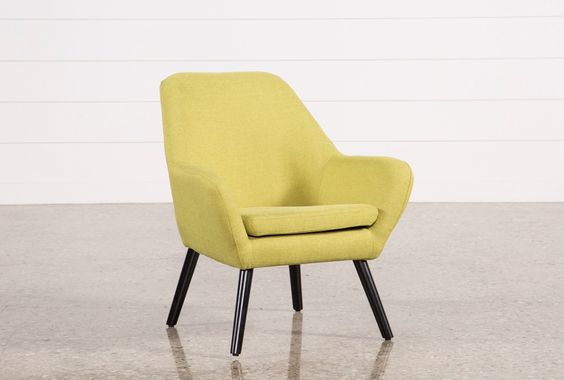
5. Living Spaces - Mercury Lime Accent Chair
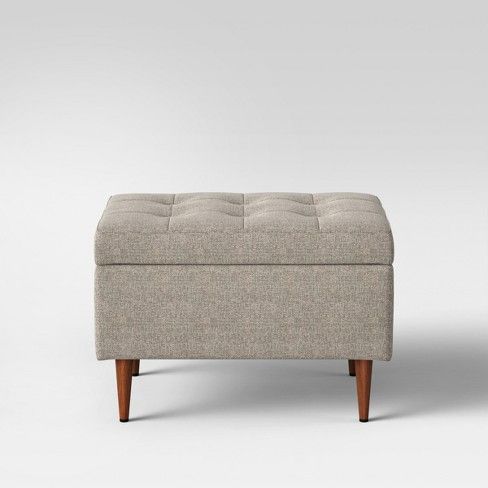
6. Target - Lemoor Mid Century Ottoman
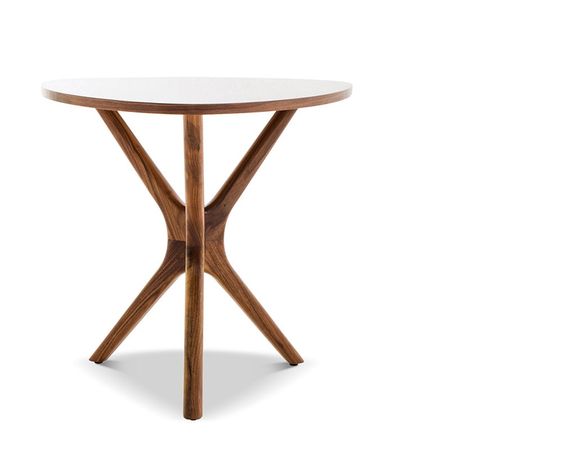
7. Joy Bird - Tolson Wood End Table
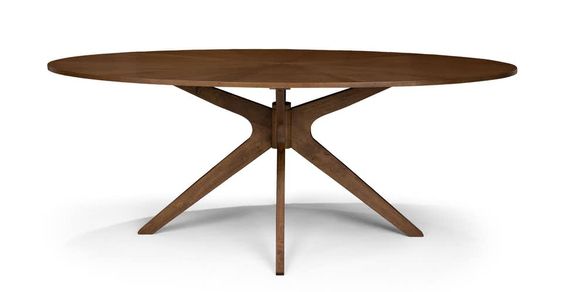
8. Article - Conan Oval Dining Table
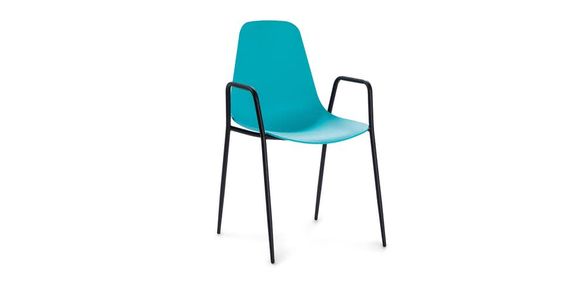
9. Article - Svelti Dining Chair

In this perspective, you can see the psychologist's office. The wall has 3D tiles that create a mid-century modern pattern and add interest to the space. The floating wall shelves have a warm under light that adds warmth and ambience and provides plenty of shelving for his psychology books and poems.

Perspective 2
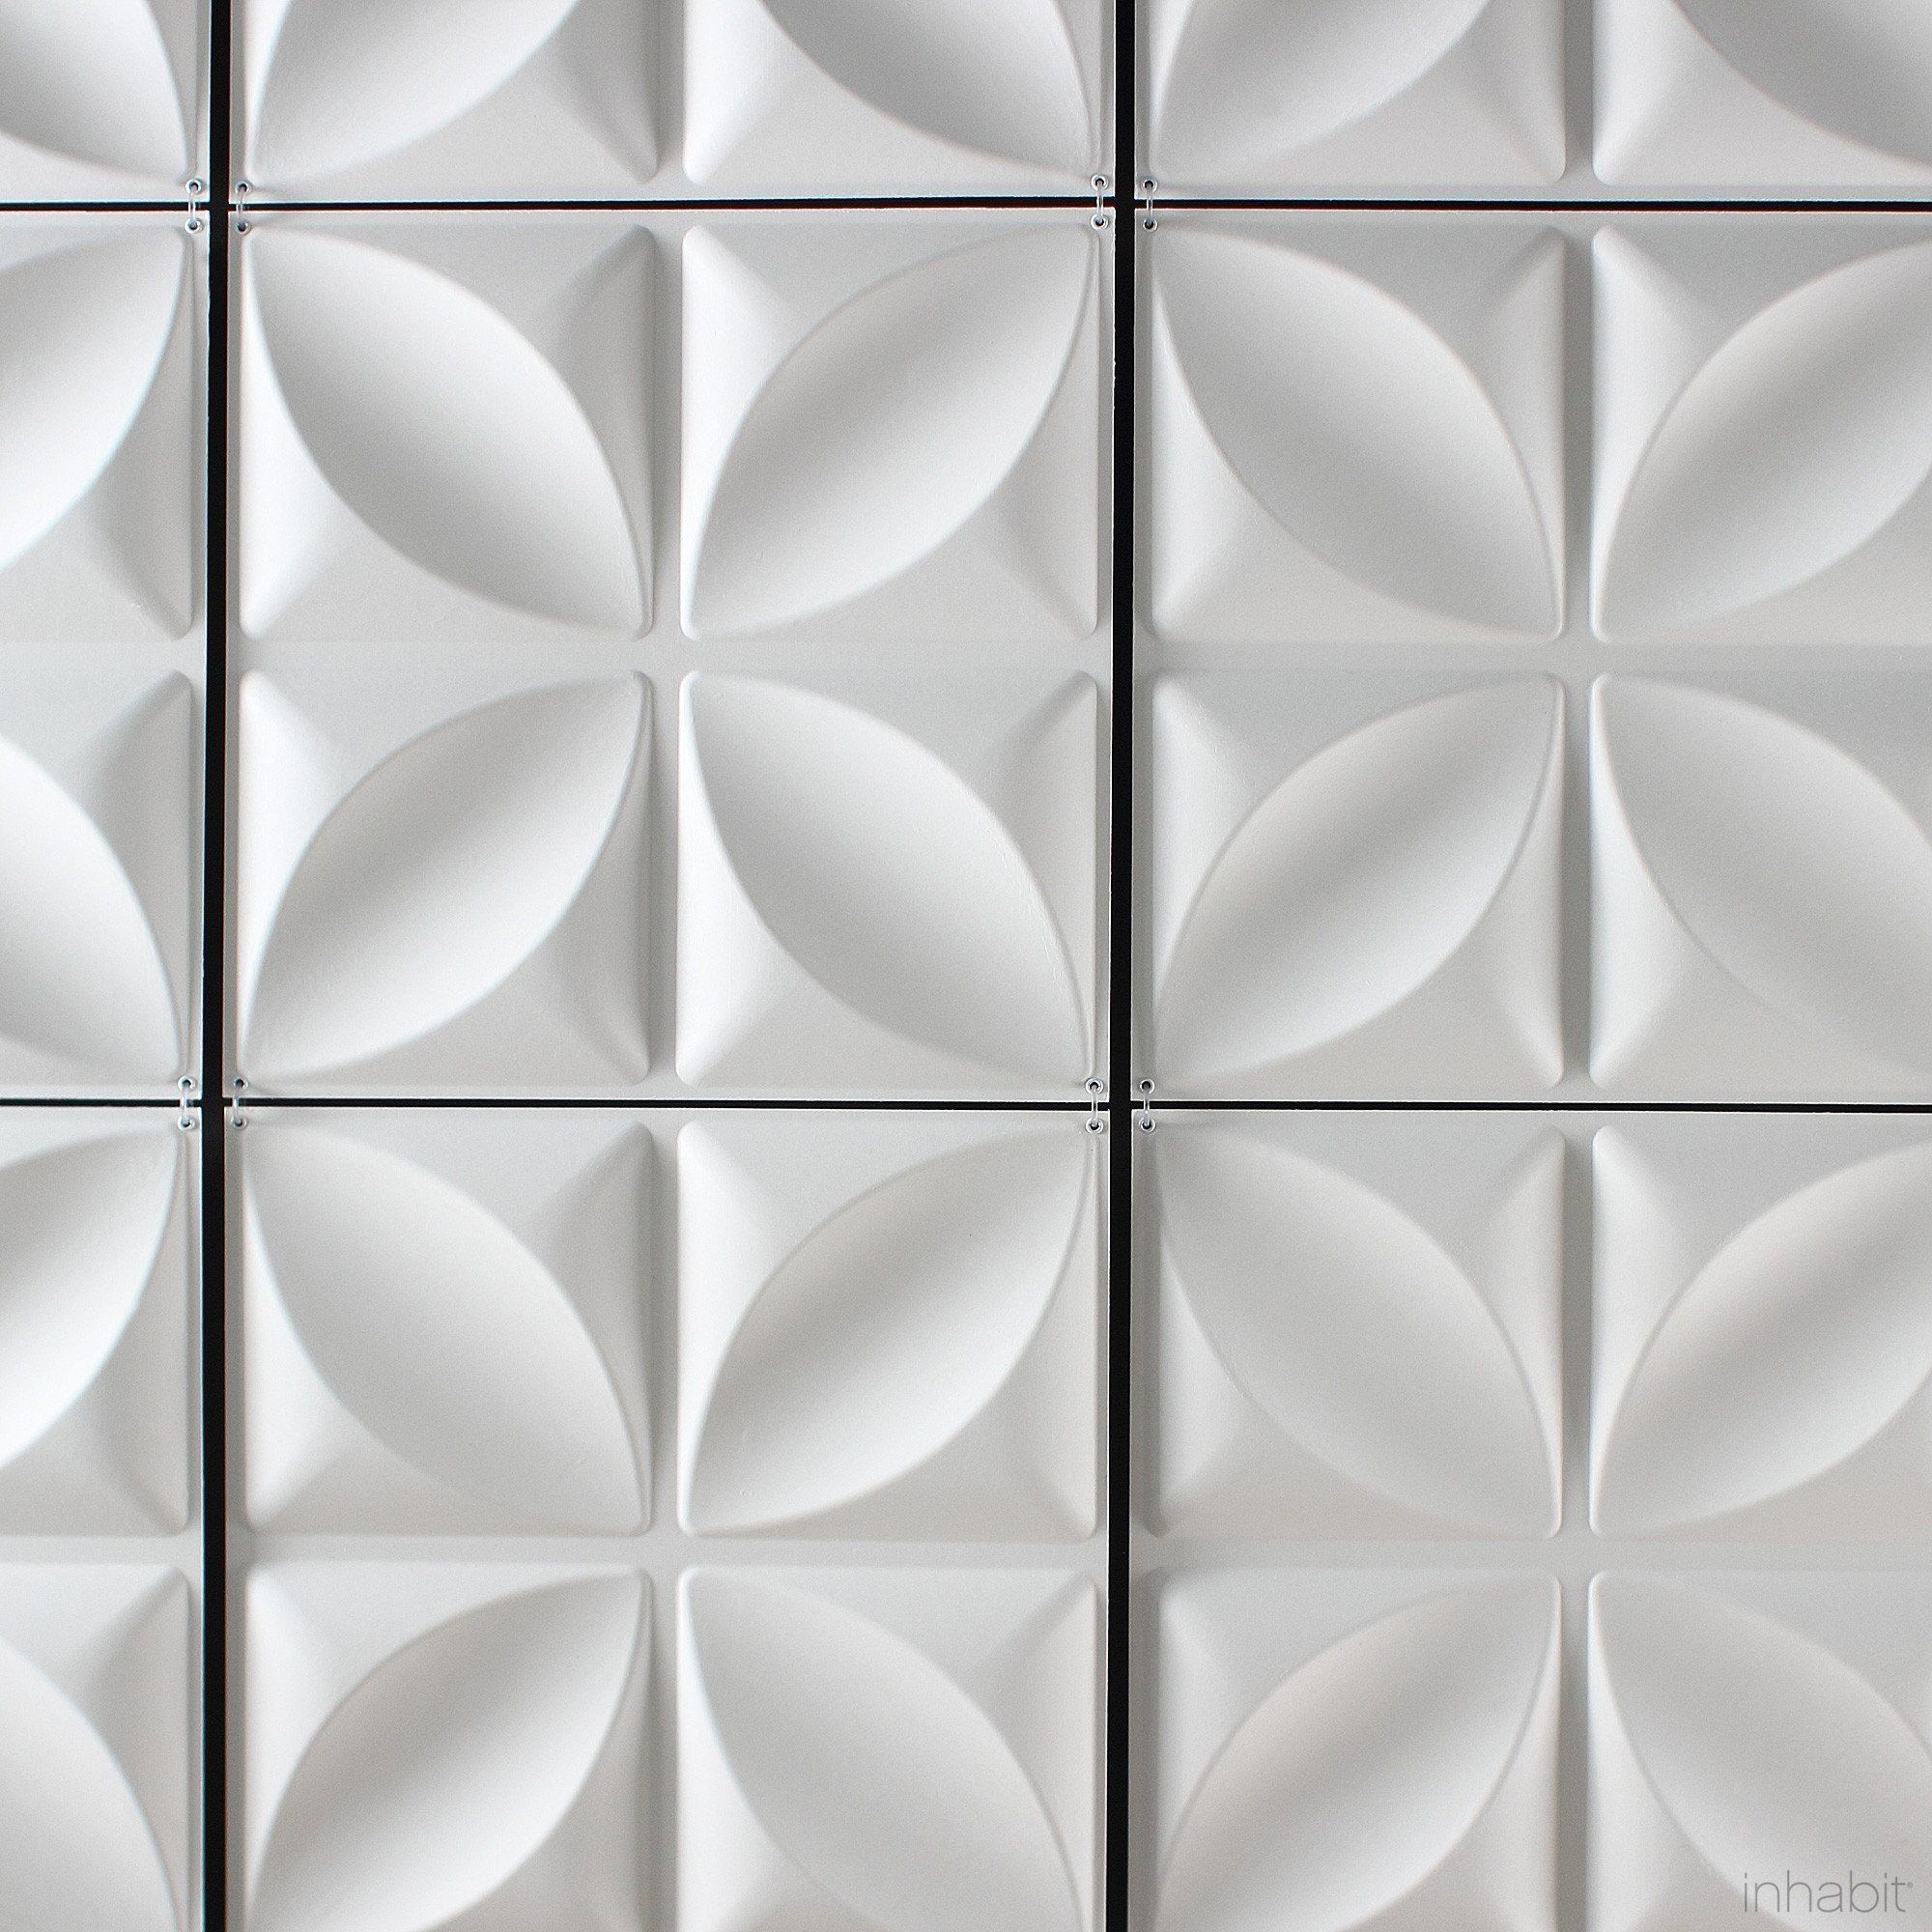
1. Modern Furnishings - Chrysalis 3D Wall Tile
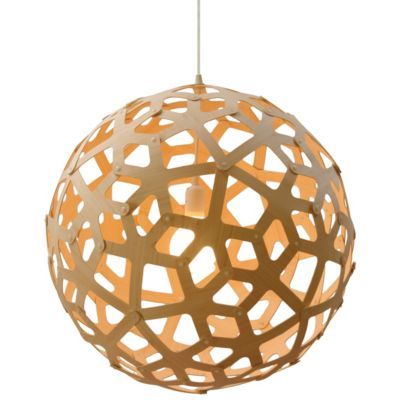
2. Y Lighting - David Trubridge Coral Pendant Light
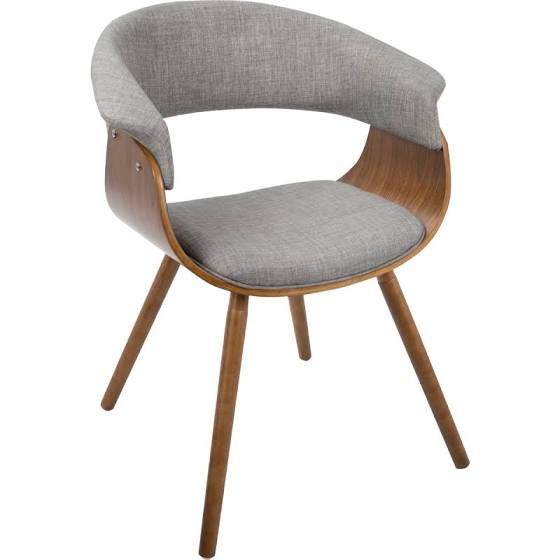
3. Houzz - Mid Century Modern Desk Chair
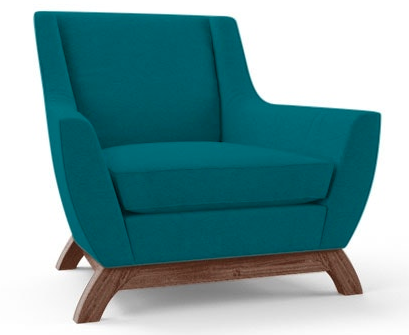
4. Joybird - Owen Chair
5. Article - Vena Rectangular Coffee Table
For all of my drawings, I used prisma color markers and prisma color pencils. I also take commissions if you need a space hand rendered! If you are interested, email me through the contact page on my website.
Below are the final presentation boards and 3D study model I had to create.


I hope you guys enjoyed reading the design process behind this project. I will be taking Studio 2 this Fall, but will be posting many projects from other classes in-between. Stay tuned!