DIY : Shelf
Hi guys!
I'm really excited to share this DIY with you because I am amazed at how well it turned out. A shelf made out of popsicle sticks, Say Whaaa?
I'm going to list the step by step process that went into making this shelf. It was super easy and affordable and everything I used you can find at your local craft store or hardware store.
Here is the supplies needed:
1. Popsicle Sticks 2. E6000 (Or any industrial strength glue) 3. A Straight Edge / T-square Ruler 4. Wood Stain (Optional) 5. Stain Brush (Also optional) 6. Poster Board (Or any large paper or newspaper to prevent messes)

Step 1 : Lay down your straight edge so you have a nice straight guide to begin with. If you have a T-square ruler, place it against the edge of your poster board or work space.

Step 2 : Lay down 3 popsicle sticks exactly 1 inch from each other. You can go shorter, but I don't recommend going longer. Depending on how long you want your shelf, it will determine how many popsicles you lay down, not the length apart from each other.

Step 3 : Begin laying down the glue on the next row of popsicle sticks. I found that it was easier if I did the row all at once, rather than as I went.

Step 4 : Place the row of sticks on top of the first row and exactly 1 inch apart from each other.

Step 5 : Continue to layer on rows, and once long enough, you can turn the shelf on its side for easy layering. Make sure to apply pressure and make sure they are all aligned.

Step 6 : Once your shelf is layered to your desired depth and the glue is finished drying, you can begin staining your wood. I used English Chestnut, although in hindsight, I wish I used a lighter color because of the color of my walls. So take that into consideration when picking out a color.


Step 7 : Once the shelf is finished drying, it's time to hang it up! I like using a straight edge, but I recommend using a level if you own one. I used my t-square to hang up the shelf, because it allowed me to keep everything straight and aligned.

Step 9 : Once the shelf is up, it's time to style! My favorite part!

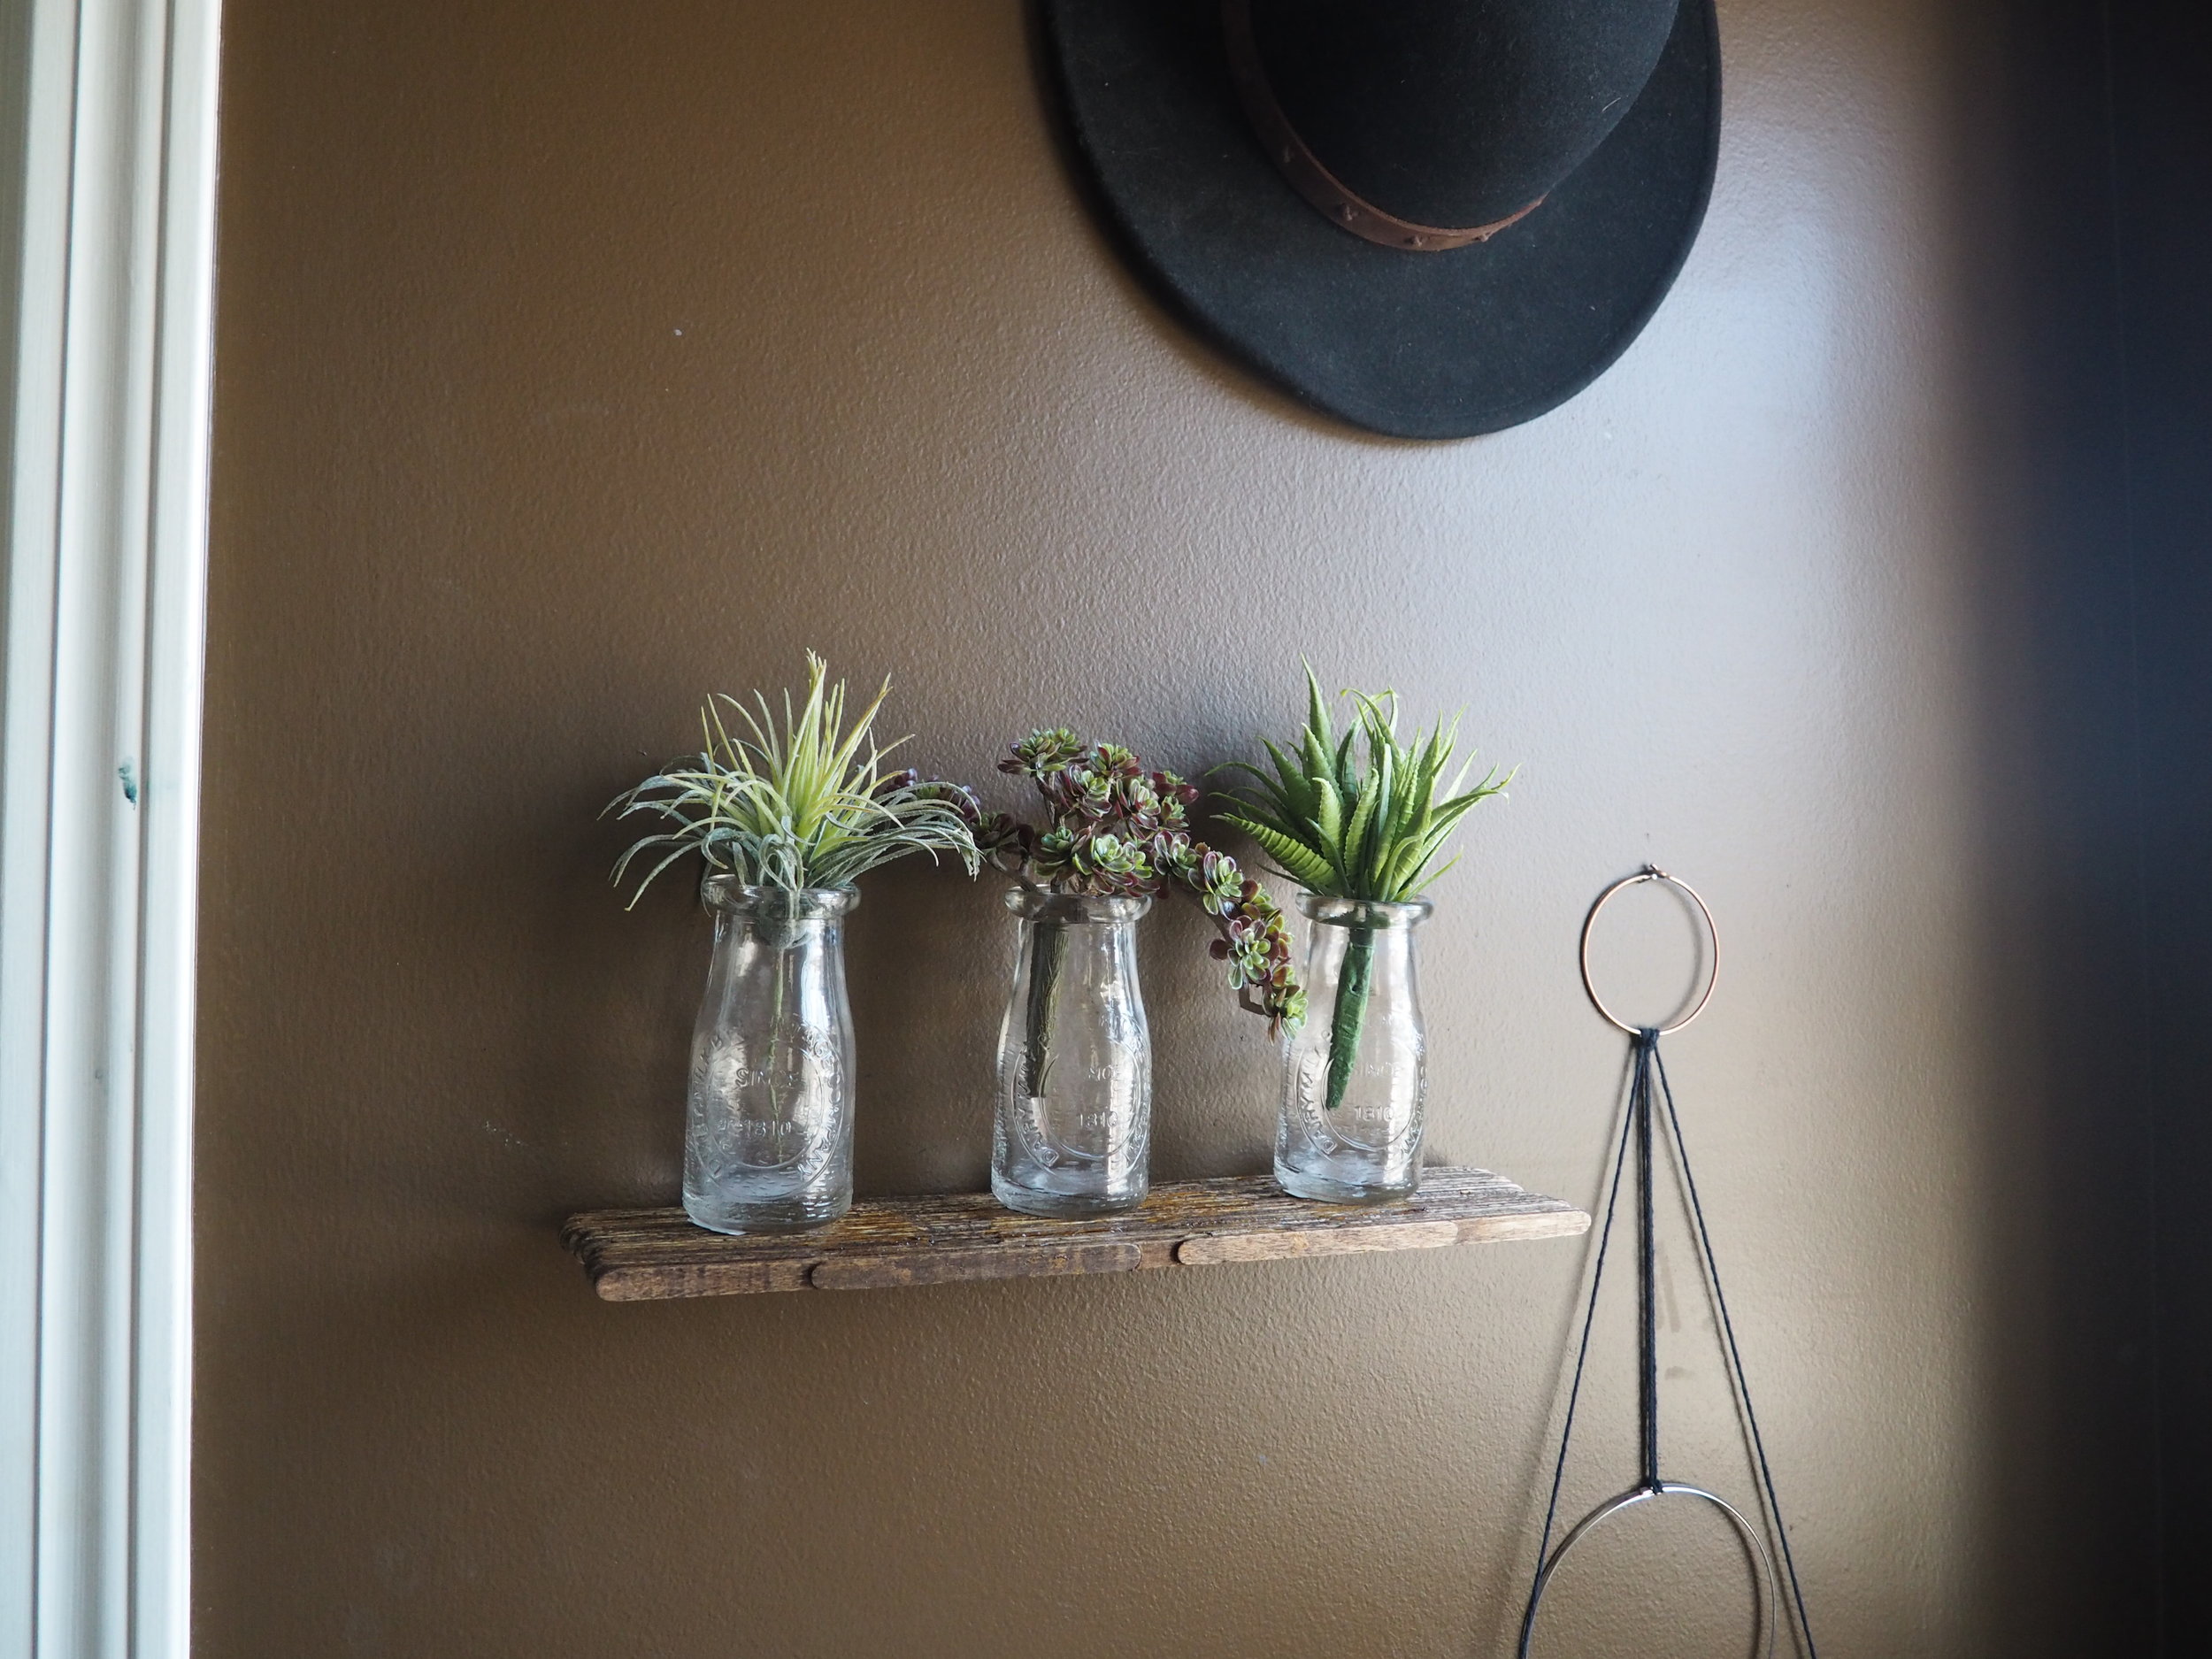

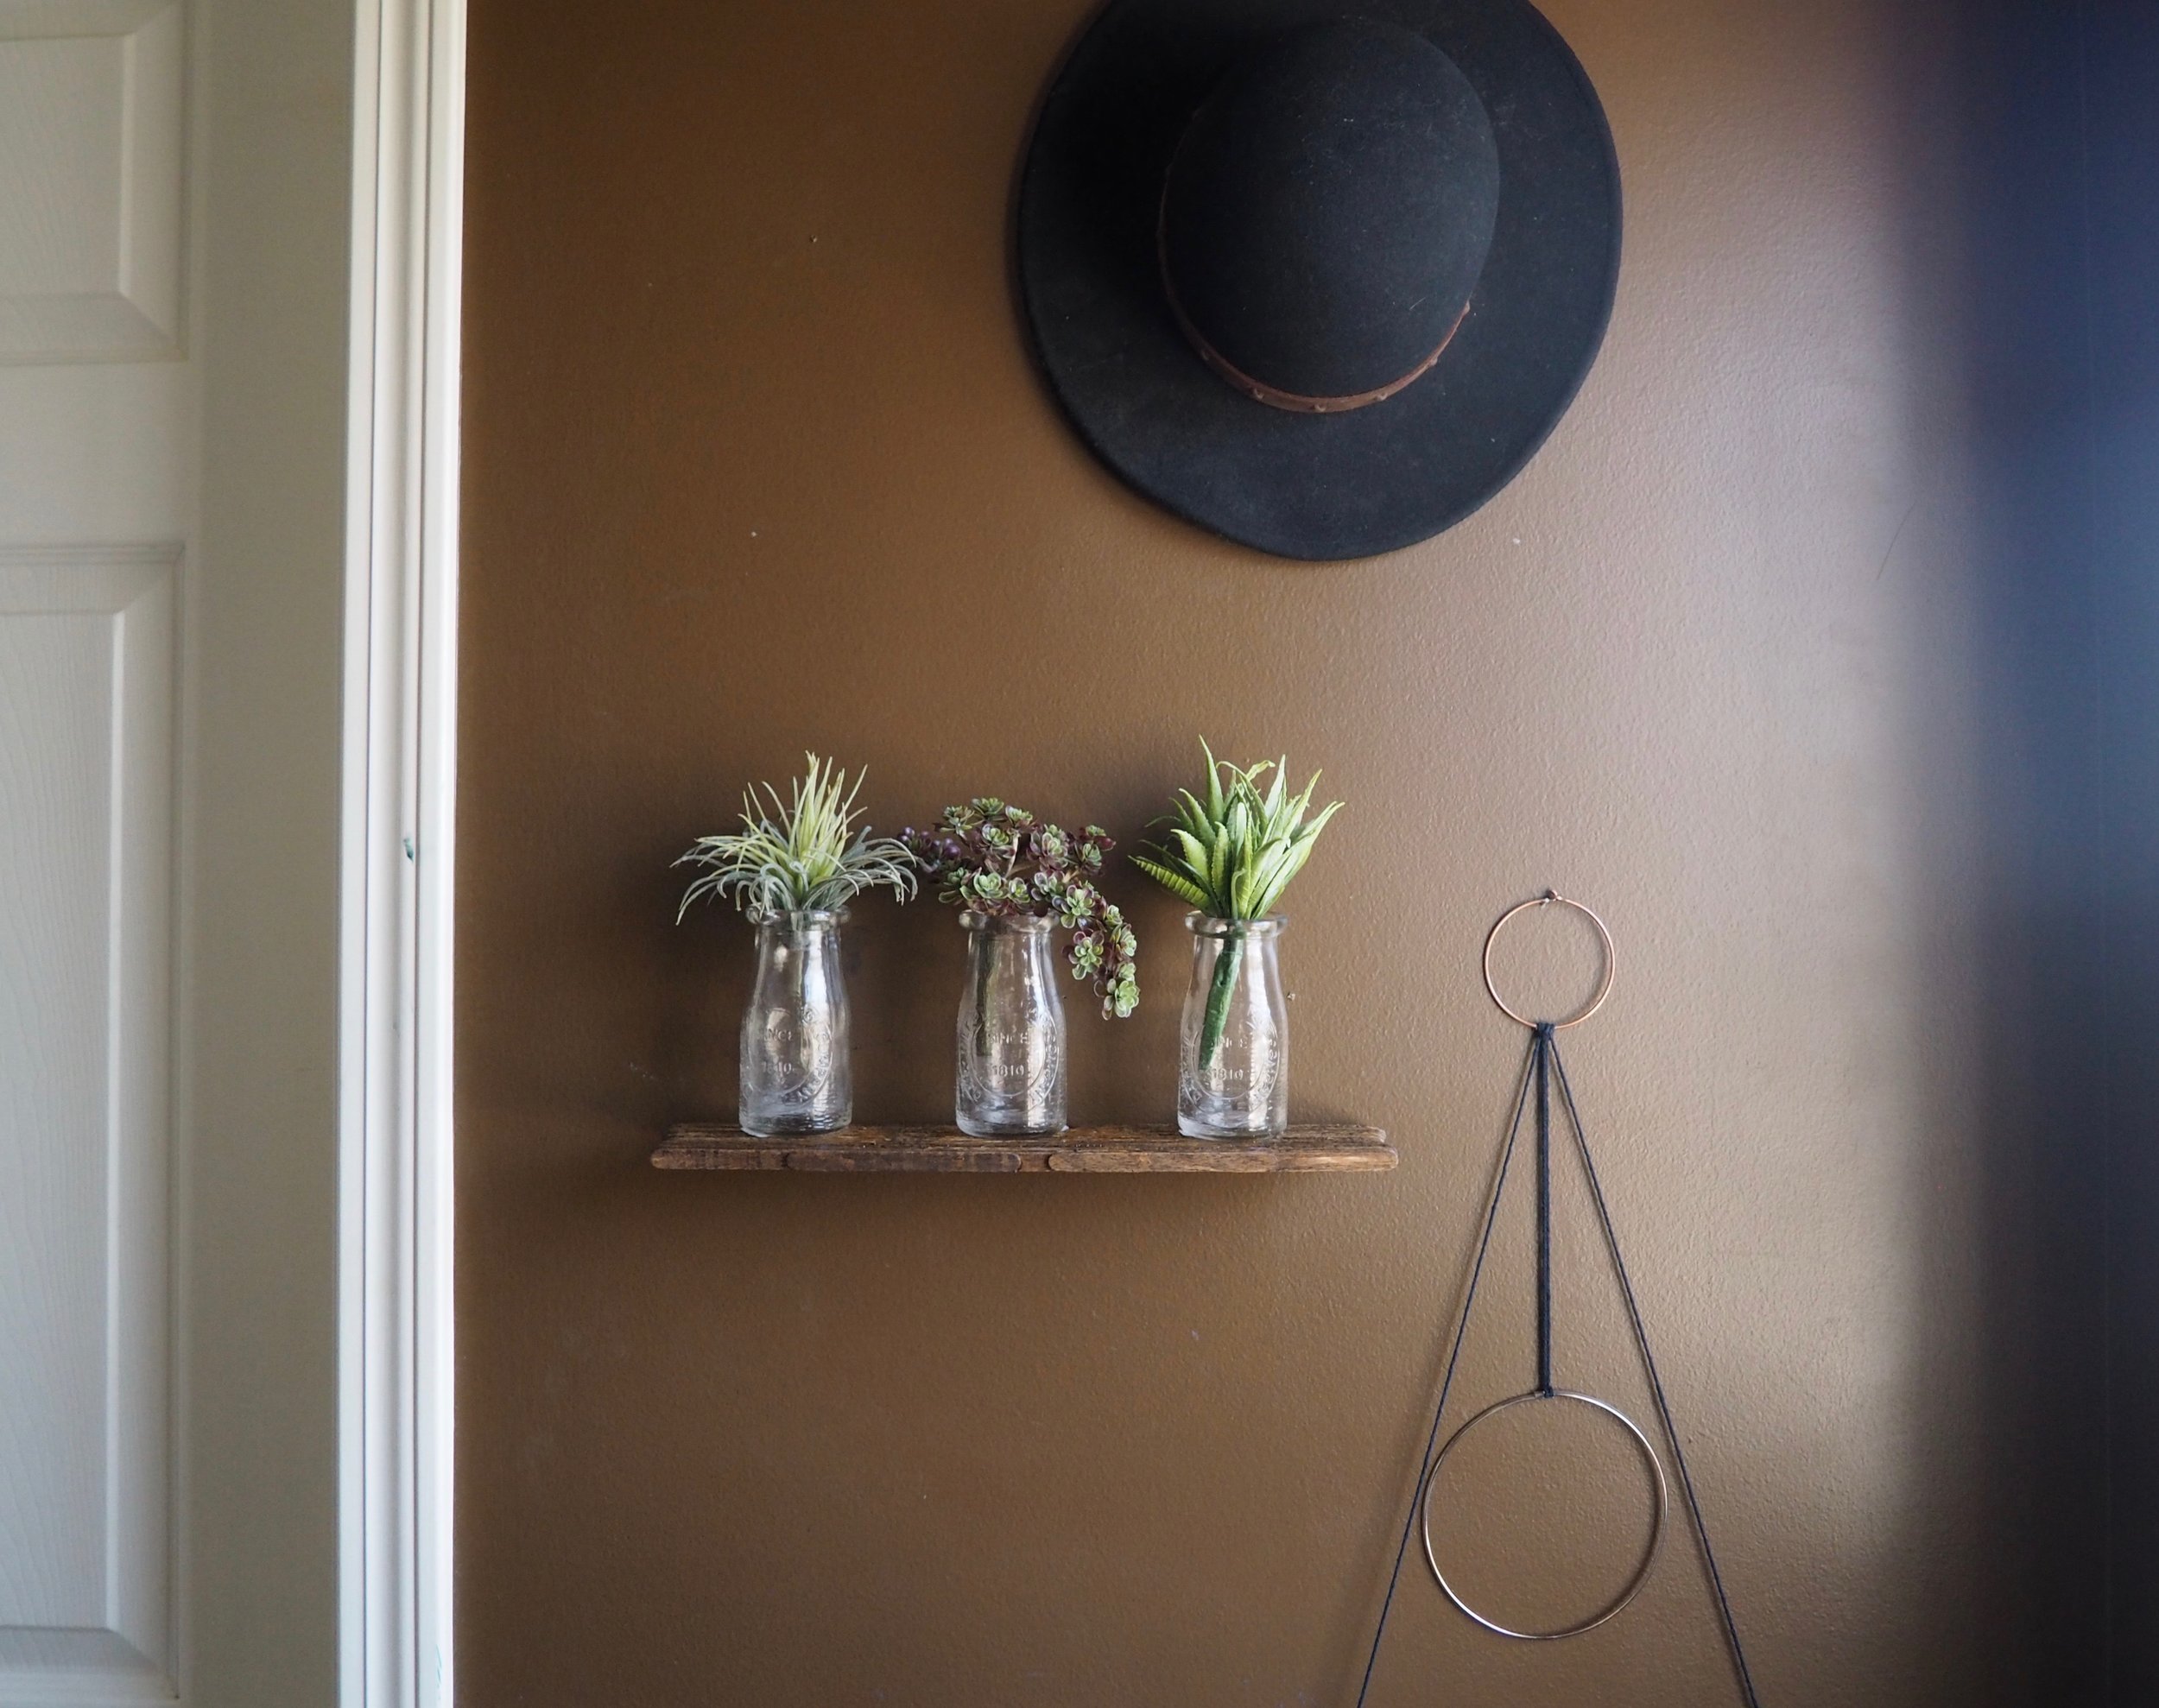
Shoutout to UNI for these beautiful vintage bottles and plants. I absolutely love them! If you live in LA or OC, I highly recommend checking them out.
I am so happy with how this DIY turned out! It was so easy and affordable. Let me know if you guys like seeing this type of blog/tutorial and comment below if there's any other DIYs you would like to see!